Creating Projects
You can create a new project whenever you need to save work on a particular dataset or topic. Data can be added to a project by dragging selections from the Data Properties and Settings panel or from a file browser (see Adding Data to Projects).
You will need to create at least one root folder locally before you can create a new project (see Managing Root Folders). You should also select the Organizer settings before you create your first project (see Selecting the Organizer Settings).
- Choose File > Open the Organizer on the menu bar.
The Organizer appears.
- If required, you can add a new root folder before you create a new project (see Managing Root Folders).
- Click the Create a Project button.

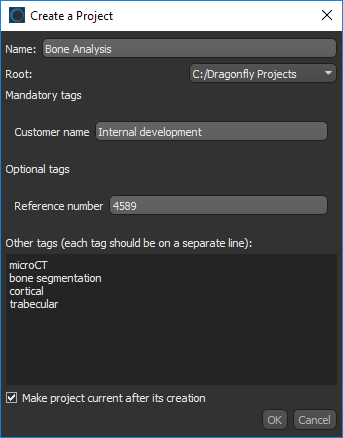
The Create a Project dialog appears.
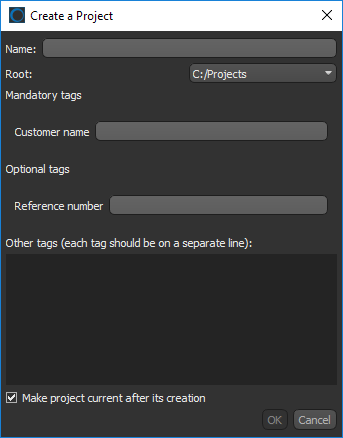
- Do the following in the Create a Project dialog:
- Enter a name for your new project.
- Select a root folder in the Root drop-down menu.
- Enter any mandatory tags that are required, as well as any optional tags (see Setting Up Project Tags for information about adding mandatory and optional project tags).
- Add other tags to help searches for the project, optional.
- Select the Make project current after its creation option if you plan to start working on your new project.
- Click OK to create the project.
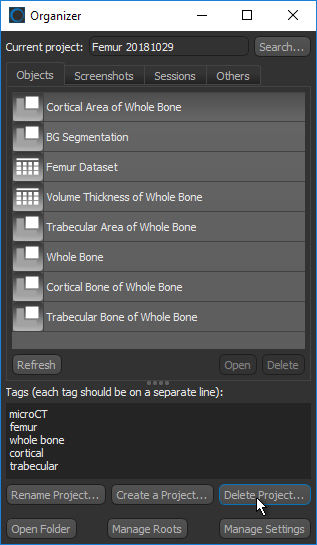
- Search for the project you want to rename, if required (see Searching for Saved Projects).
- Click the Rename Project button.

- Enter a new name in the Rename Project dialog.
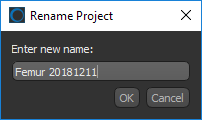
- Click OK to rename the current project.
- Search for the project you want to delete, if required (see Searching for Saved Projects).
- Click the Delete Project button.
- Click Yes to continue if you want to delete the project and all related files.